Everyone in the group attend the class
Task : We’re building “Autonomous Car”
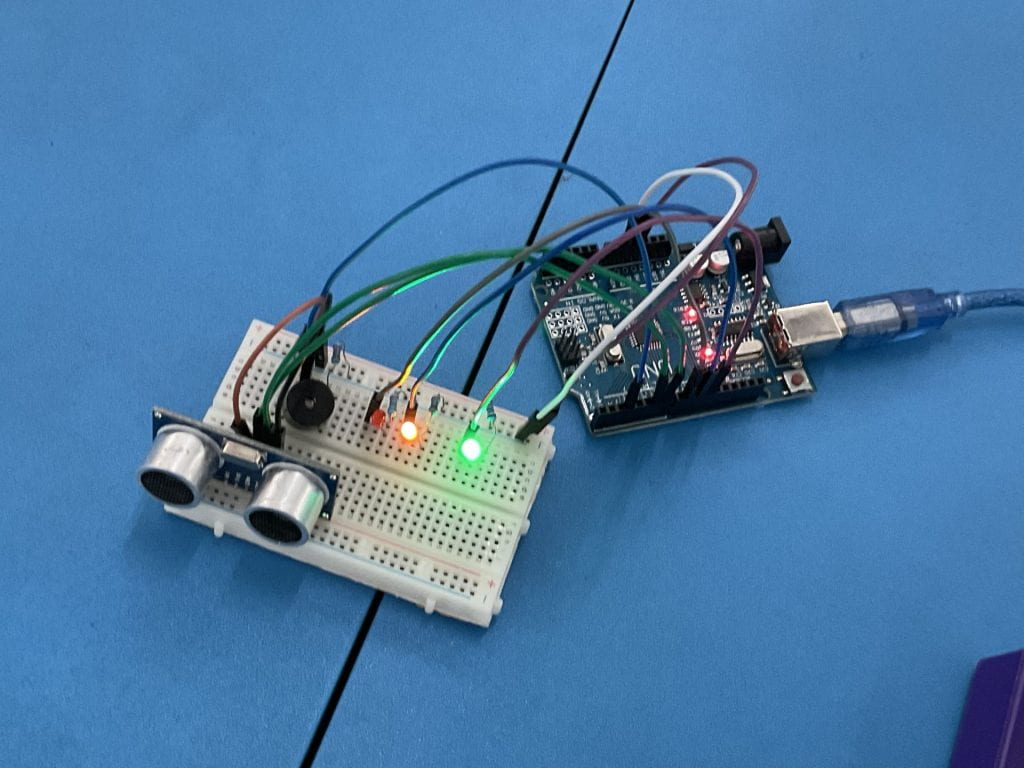
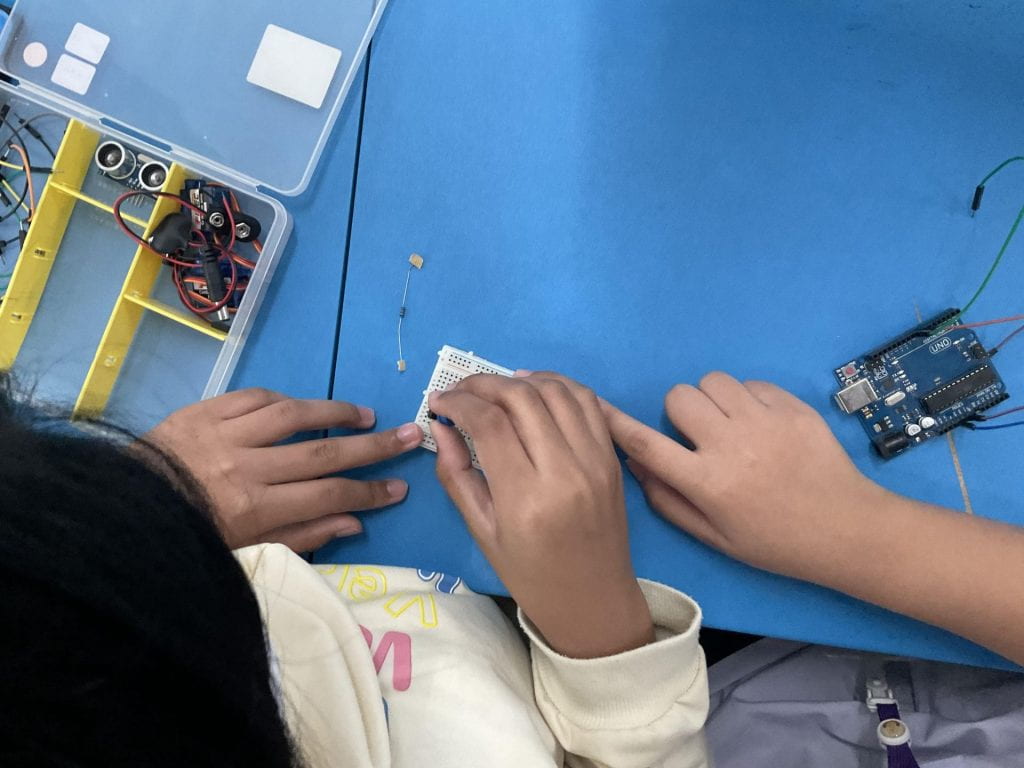
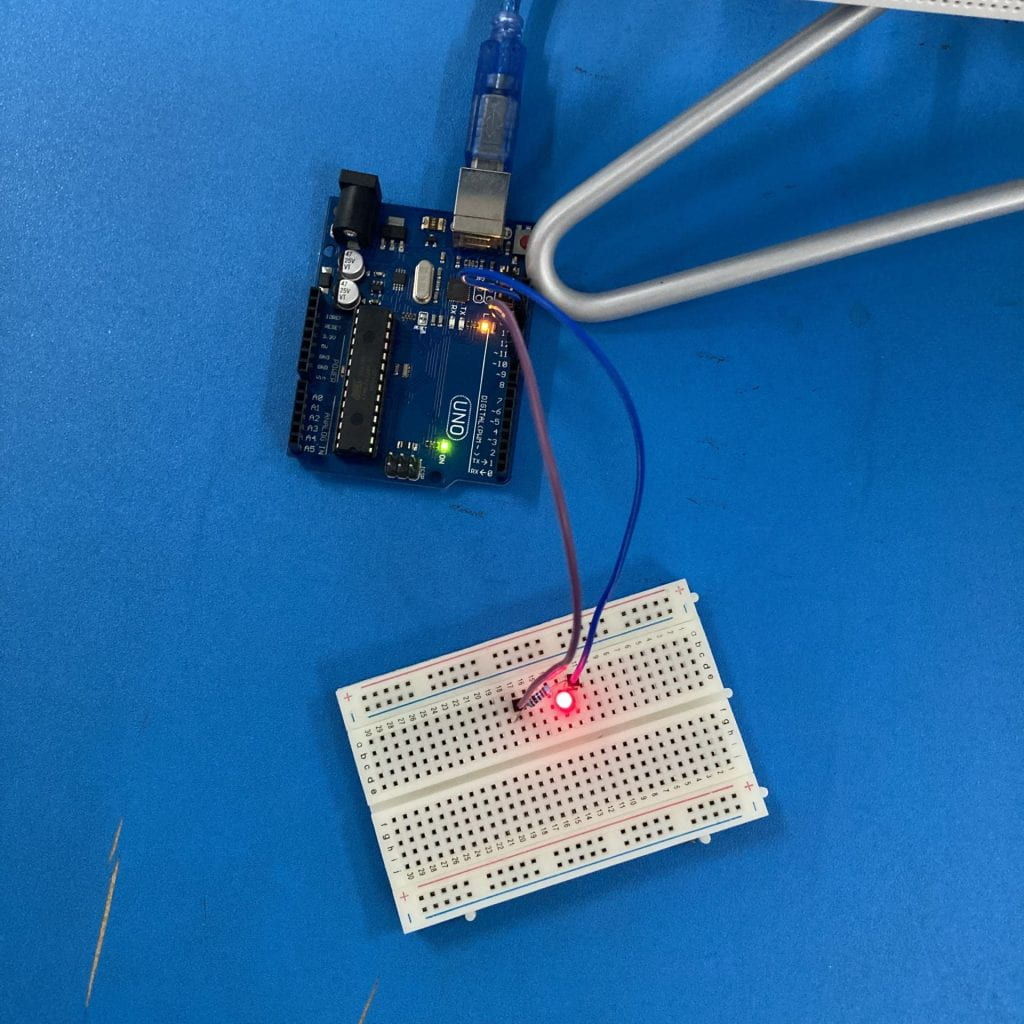
The components we use to create a circuit was…
- Breadboard
- Arduino UNO Board
- Jumper wire
- Ultrasonic censor
- Servo
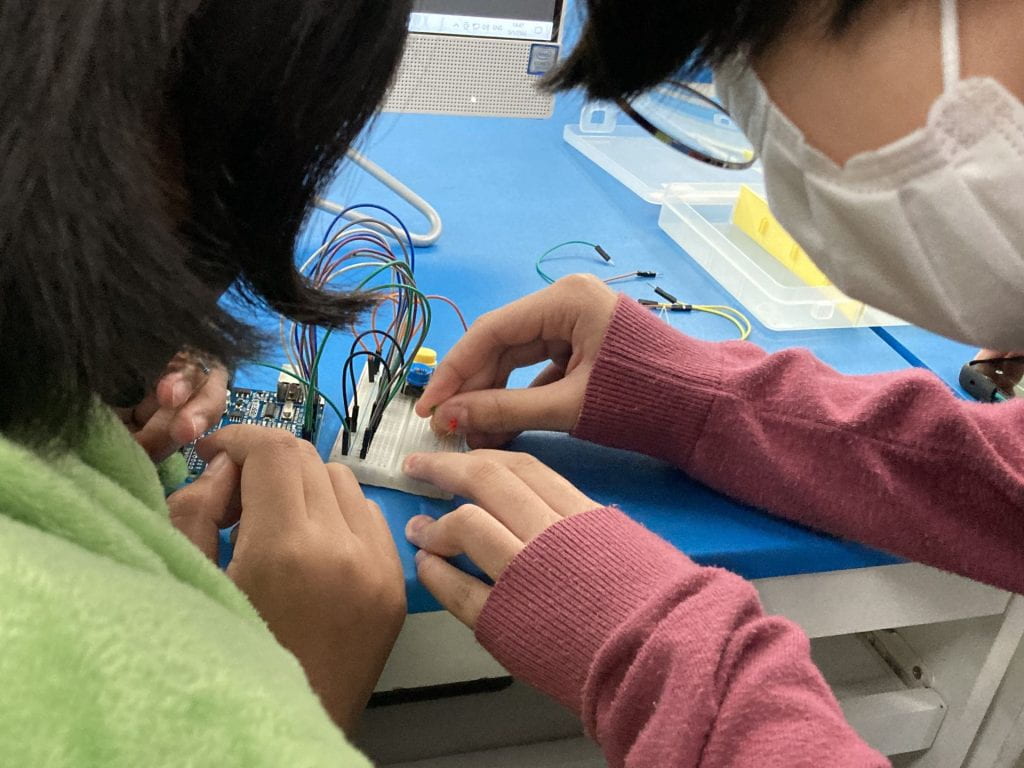
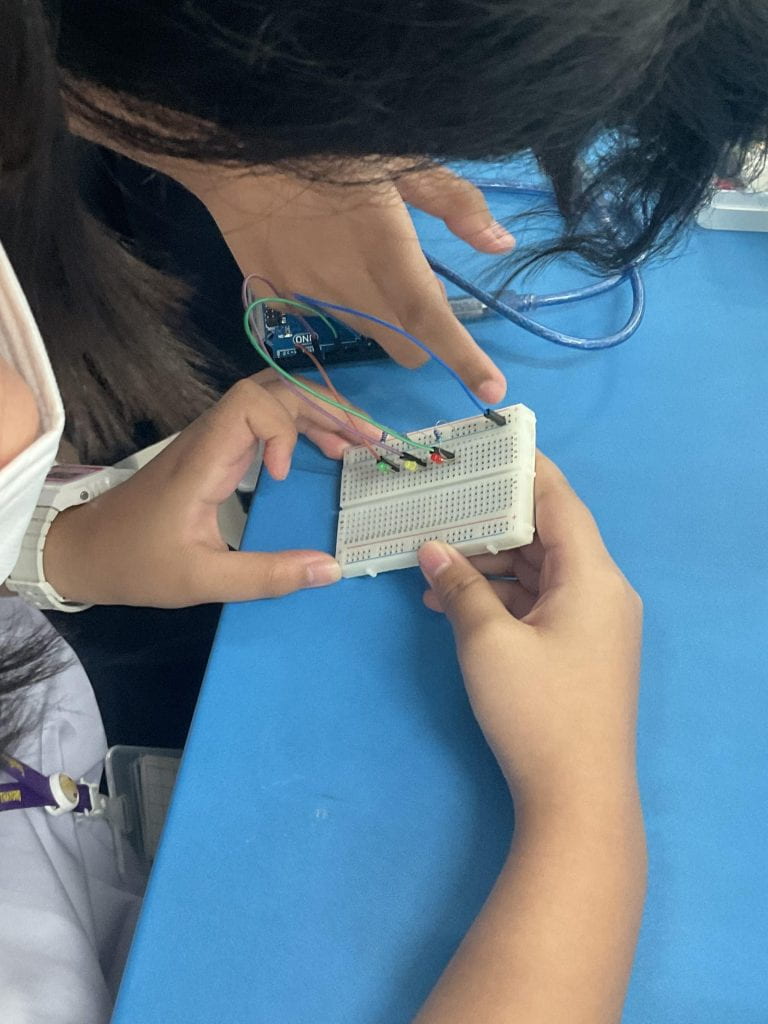
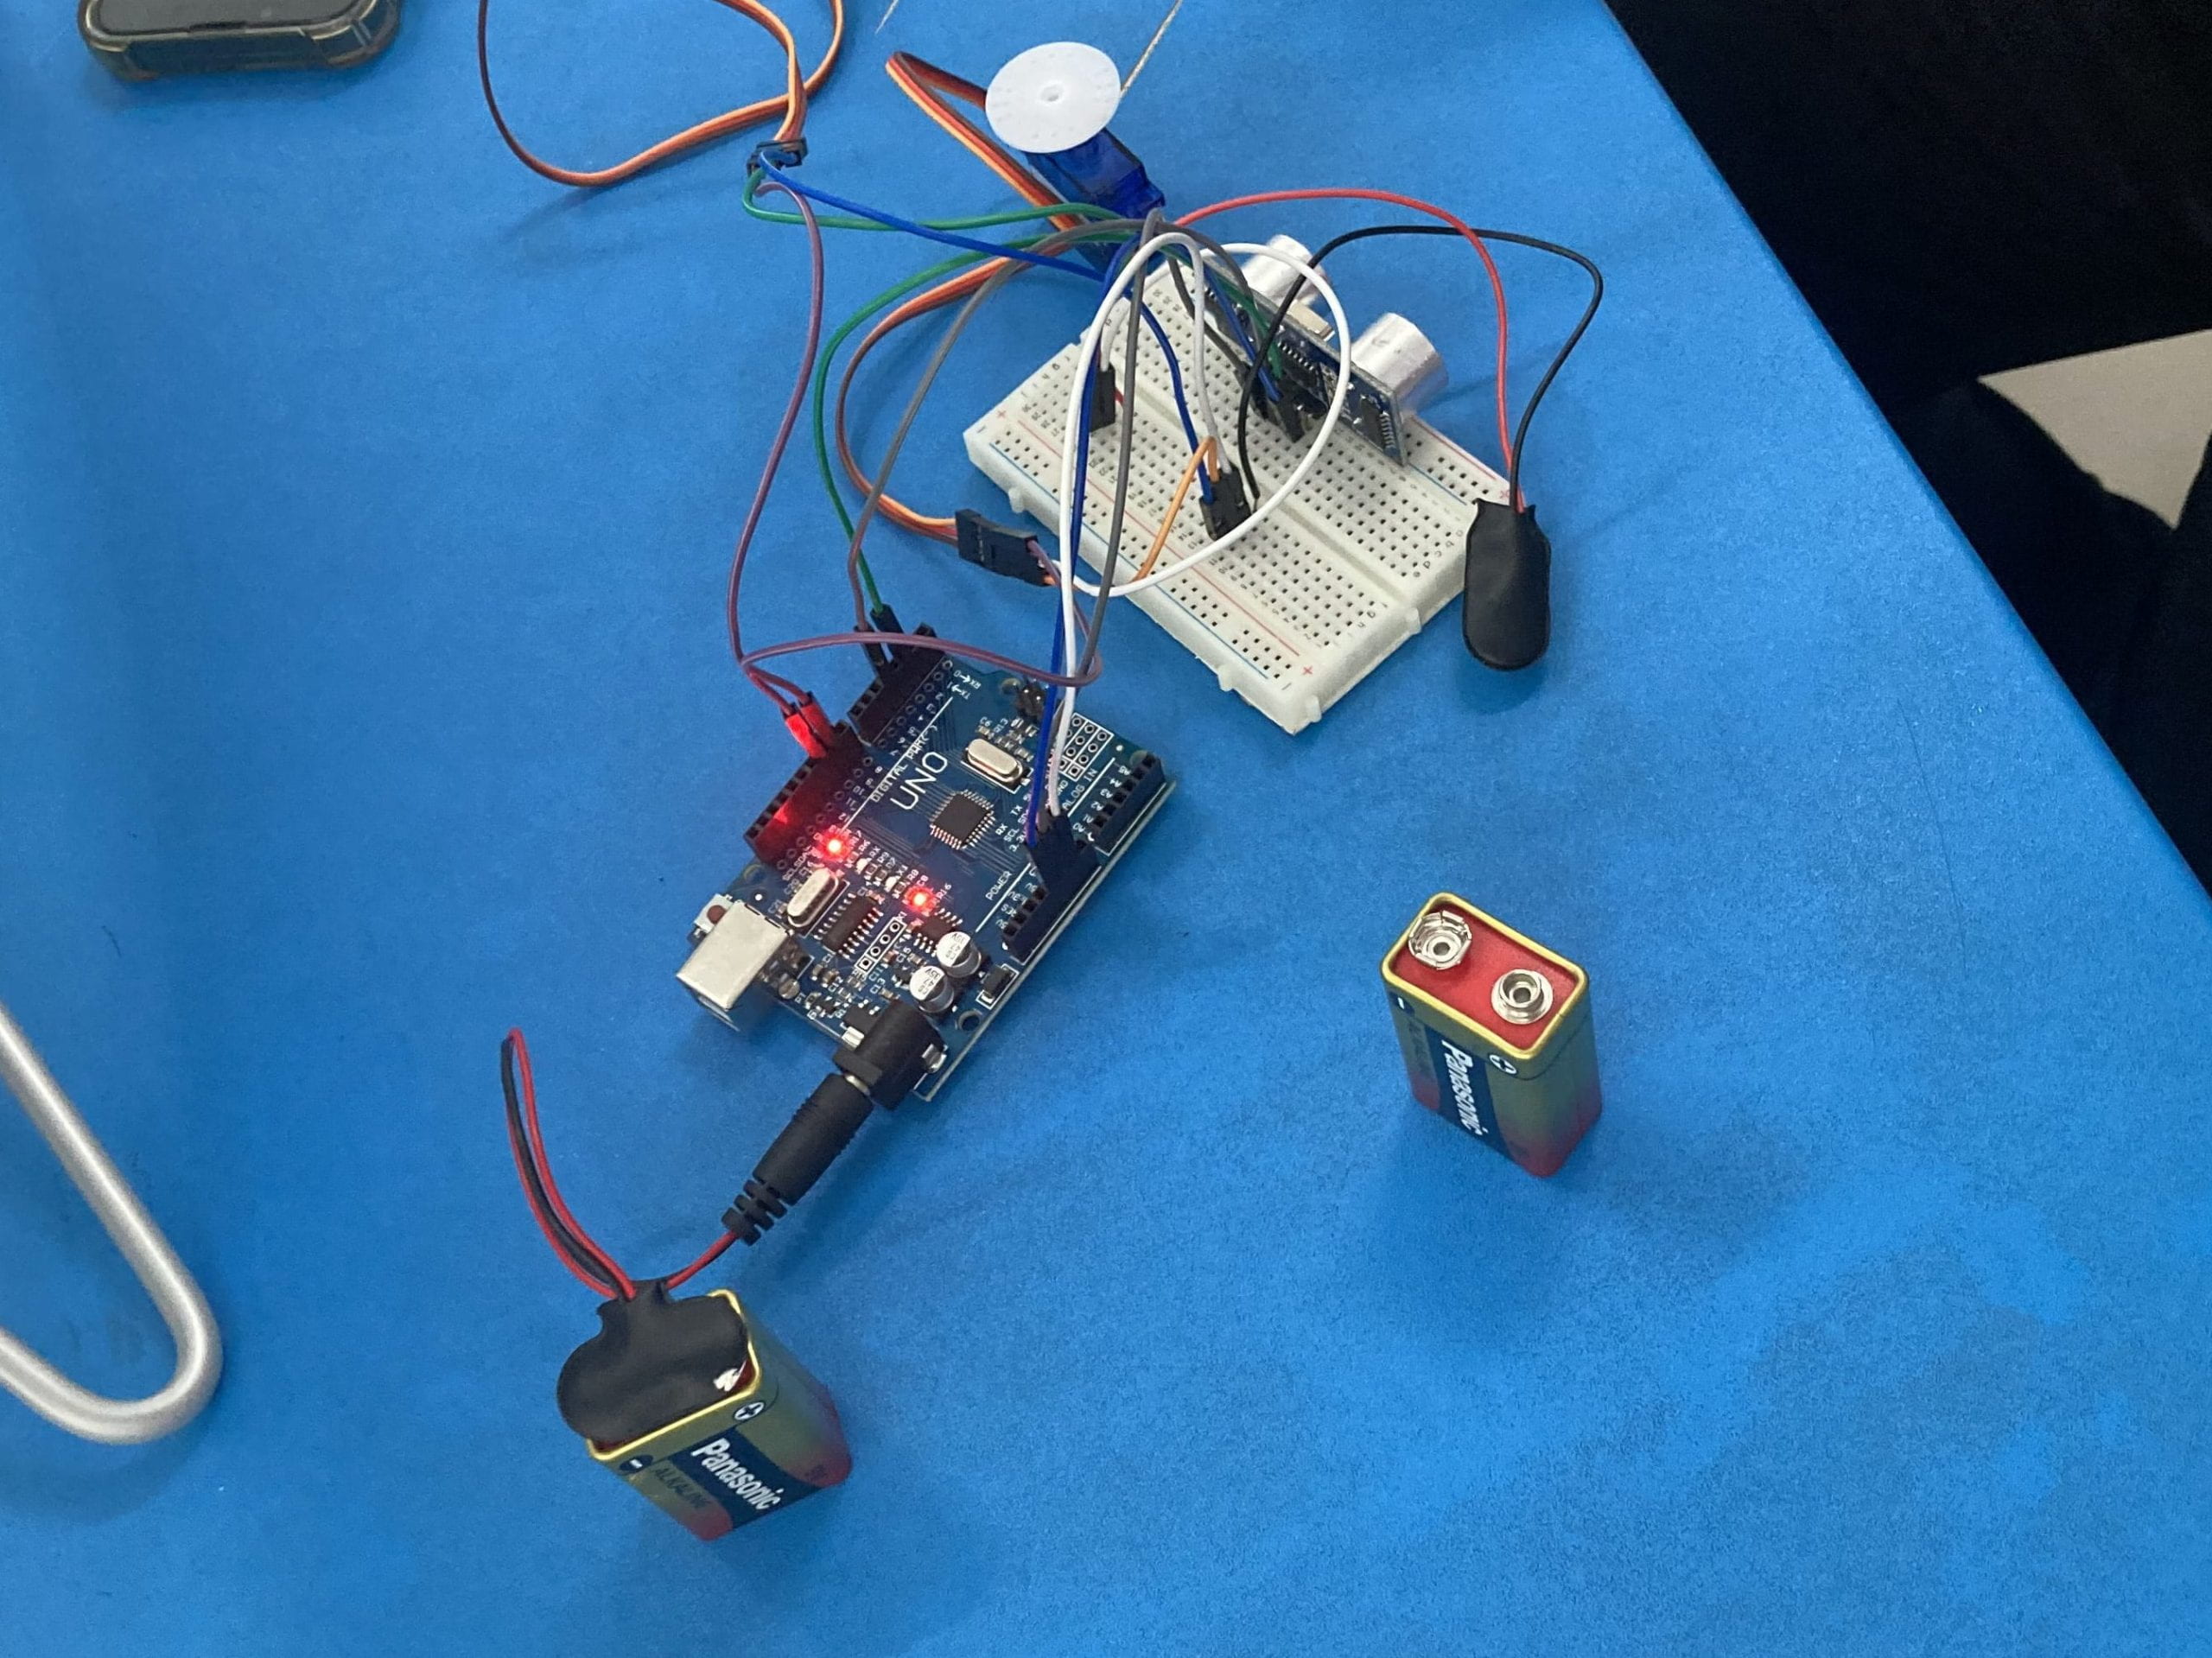
Process :
- First connect ultrasonic servo to breadboard
- Then connect jumper wire from Arduino board to left and right servo
- Then connect jumper wire from Arduino board to breadboard
- Connect battery wire to Arduino board
Down here was a video of a complete the circuit .